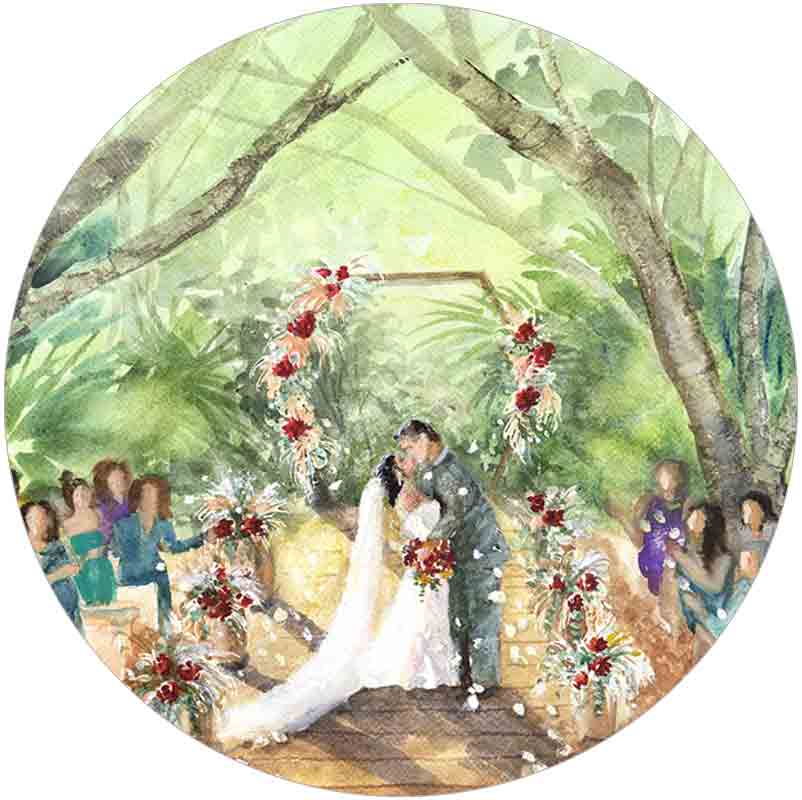
Painting Flowers
In this lesson, we'll create a swag of flowers and discuss a few of the different ways to paint them.
There are sooo many different ways to approach painting flowers with watercolors. I know that I say this a lot but practice is truly the way to become competent in painting them. I've painted many experimental flowers and I still have lots of room for improvement in this area. The beauty of painting flowers is that mistakes fade away and the soft, fluidity of colors mixing together becomes paramount. Your main mistake will most likely be over working and overthinking them.
When painting flowers of in a wreath or swag, I find that breaking my self imposed rule of drawing first and just painting intuitively works better. I like to just build the flowers up as I go, adding them in and positioning them in a way that feels right as I go. If I do draw ahead, it is just mainly put in little circles or clumps where I want the flowers to go.
I think of tackling flowers in two main ways:
- Laying down bright color and then spread it around with water. This works great for little roses, peonies, leaves and flowers with more defined structure. We will approach our first dominant flowers in this way.
- Painting wet into wet. I love this when you have general shapes of petals but are happy to just let the petal colors be fluid and the centers be firm and darker. I use this approach for poppies, delphiniums and anemone flowers etc. We will work with this approach last.
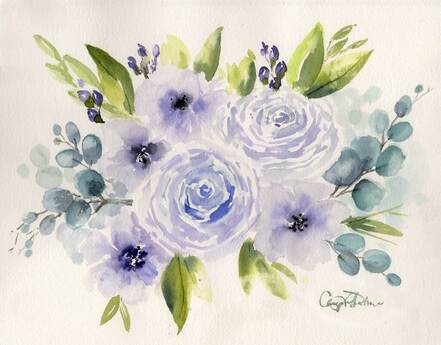
As with any composition, having a focal point is important. For this reason, I like to put a couple of main dominant flowers first.
|
|
When I'm painting florals, I like to mix up my colors first. This is so that I'm not getting slowed down by mixing up the colors while I'm painting. If you don't pre-mix, it is easy to let things dry that should remain wet while you are painting. This will cause you to loose some of your fresh, spontaneity. ; )
Start by choosing your color palette and activating those colors into little puddles on your palette. |
|
|
Wet on Dry
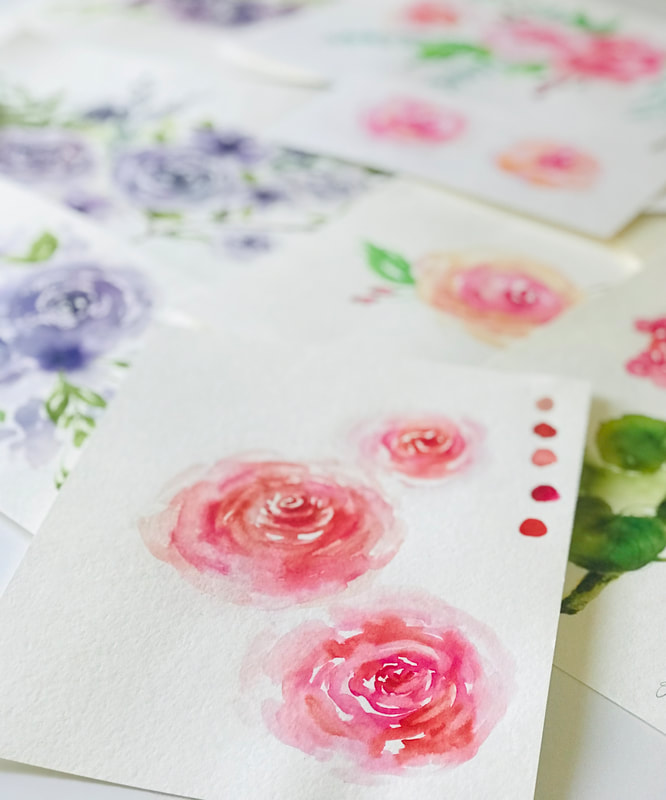
Let's start with a dominant rose. Use the brush to make a dark swipe of color in the middle. Wash your brush and tap off the access water. Now swipe over the lower edge of what you painted to move it around. Continue to build up the petal layers. Add in another color to the mix and let it mingle in. After it drys a bit and the shine starts to leave the paper, go back into the center with a loaded brush and darken it up. Remember how much the color lightens as it drys . (Sometimes up to 2 shades on a value scale!) |
Tip: Have your flowers facing different directions. Some of the flowers should have the middle be off-center. This means that one side of petals will be longer then the other to hint at that positioning.
|
|
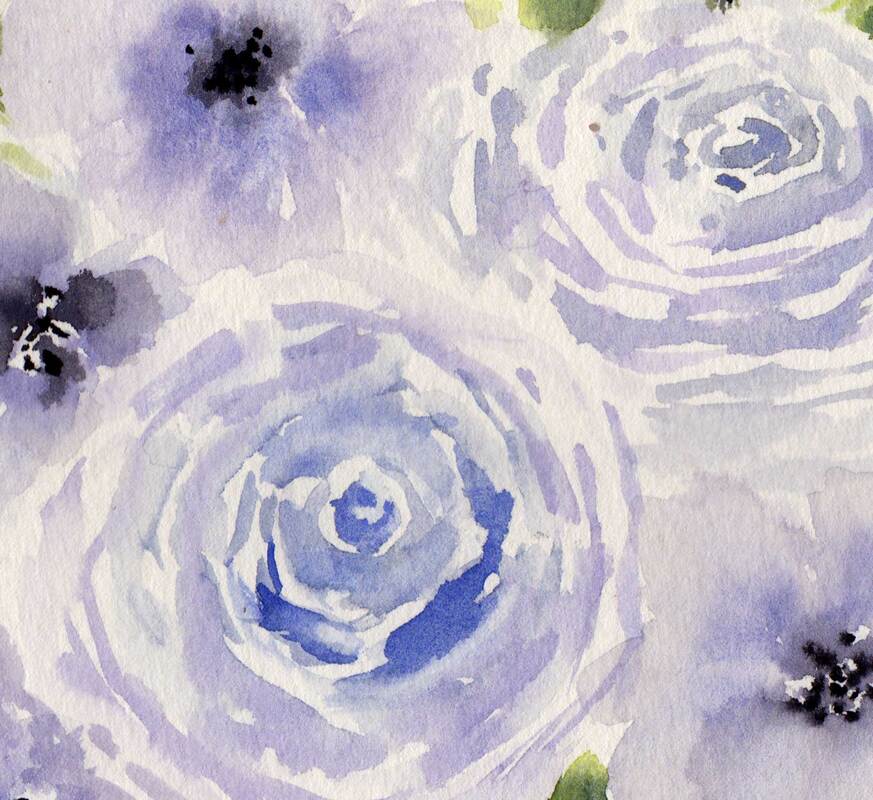
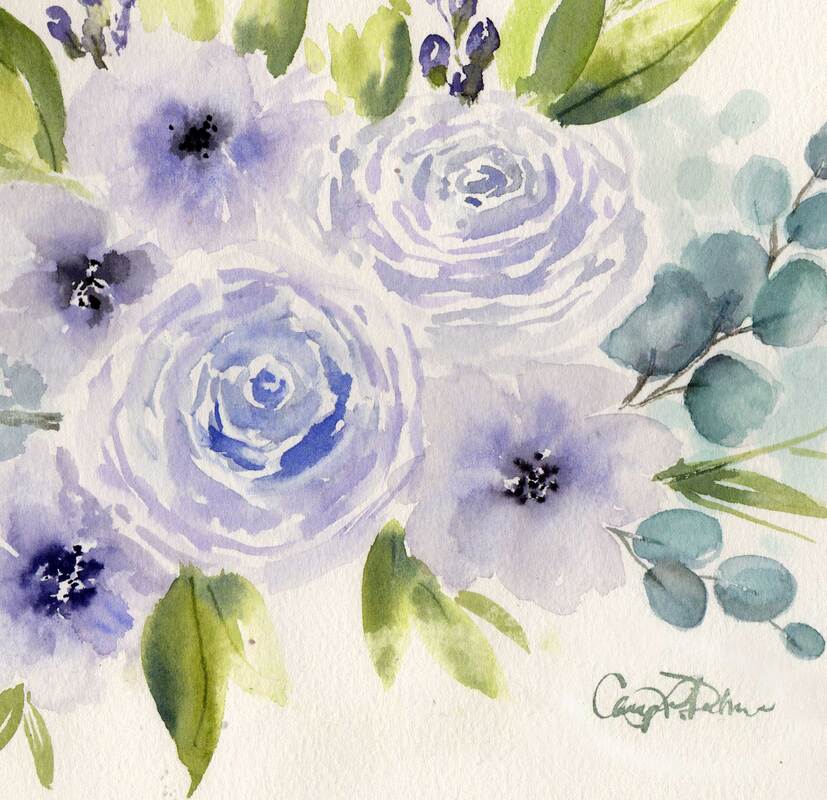
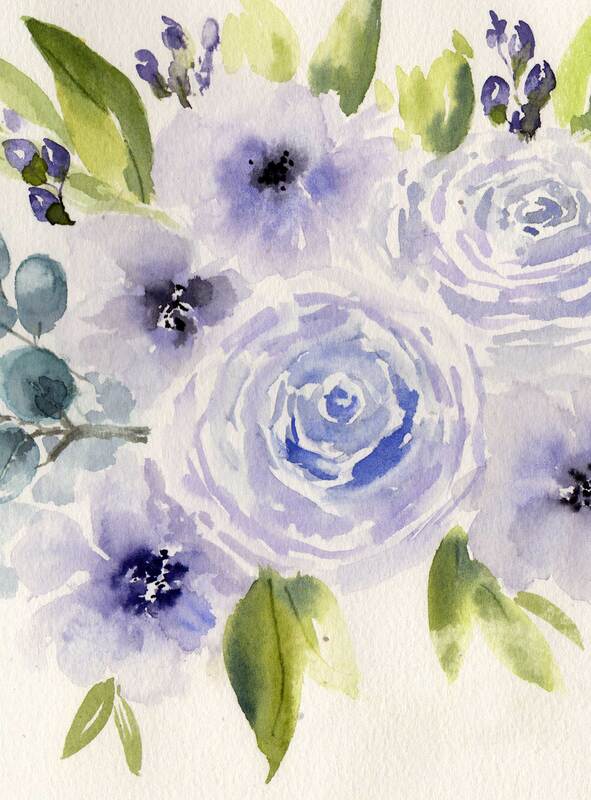
Wet into Wet
We are going to add in some pale anemones. They can be challenging because they are mainly white, so your paint puddles will need to be very light in value. Like a 2 or 3 on your value scales. Start by laying down the paint of the petals. Shape the petals and get them on the paper. While they are wet, drop in color for the centers that is darker. Let it bleed into your existing petals. Wait a minute or two and then add in a darker color. Keep darkening the center until you get the desired depth. Once it is dry, you can go in and add more darks to the middle. |
Tip: Leave a decent amount of white space in and between the petals. This ensures that they don't all run together. It also makes them look more lively and fresh.
|
Buds and fillers
At this point I like to put in some little flower buds and filler sprays. These can be smaller flowers, eucalyptus, wheat type sprays etc. I add in a bit of green to the base of the bud and run it back up to the main flower. It's fine for the bud color to intermingle with the green... I like that effect. |
|
|
|
Leaves
This one is my favorite parts. Mix up a couple of shades of green first. I like to have a yellowy-green, a mid tone and a dark blueish green. Don't over think it, but add in some leaves and stems where appropriate to connect the flowers and fill in the holes. Let your brush be a little dry if you want to add more texture. You can darken up one side of your stem to give it some dimension. |
Fill in whatever areas need a little extra fluffing. You can put in buds, leaves, stems or whatever you think looks right. Florals are so fun because they can have so much variation and still technically look "correct".
How should you paint these techniques?
Just remember that their are multiple "correct ways" to move the paint around to paint flowers. It comes down to what feels the most comfortable for you and what look you want to achieve.
Just remember that their are multiple "correct ways" to move the paint around to paint flowers. It comes down to what feels the most comfortable for you and what look you want to achieve.
Homework
|
For Homework
As your exercise for this week, practice using these techniques and painting a swag. - Enjoy using whatever colors you want to use. - If it feels better, sketch lightly where your shapes of flowers will sit. - If the white paper intimidates you to start, get going by painting very lightly to see where you want to place things. This way you can always lift out the pale colors or use them as a light background. - Be patient with yourself! I find that painting flowers are one of those things that people make look easy, but actually aren't. |