|
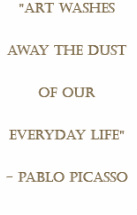
-The human spirit is incredible. We long for community and connectedness and when we can't have it, well ... we're going to make a way! Last night someone who loves our family "quarantined us" by putting this sign on our door along with a jar of colorful m&ms. We were so happy to have the treat after just having ate pizza and watching a movie. Tre has been putting a hurtin on that candy! I admit I'm doing my part to put on the "quarantine fifteen"  In an effort to further spread the joy, I scanned the sign, cleaned it up, purchased a corona virus graphic (so that it's copyright free) and made a printable version here for download. 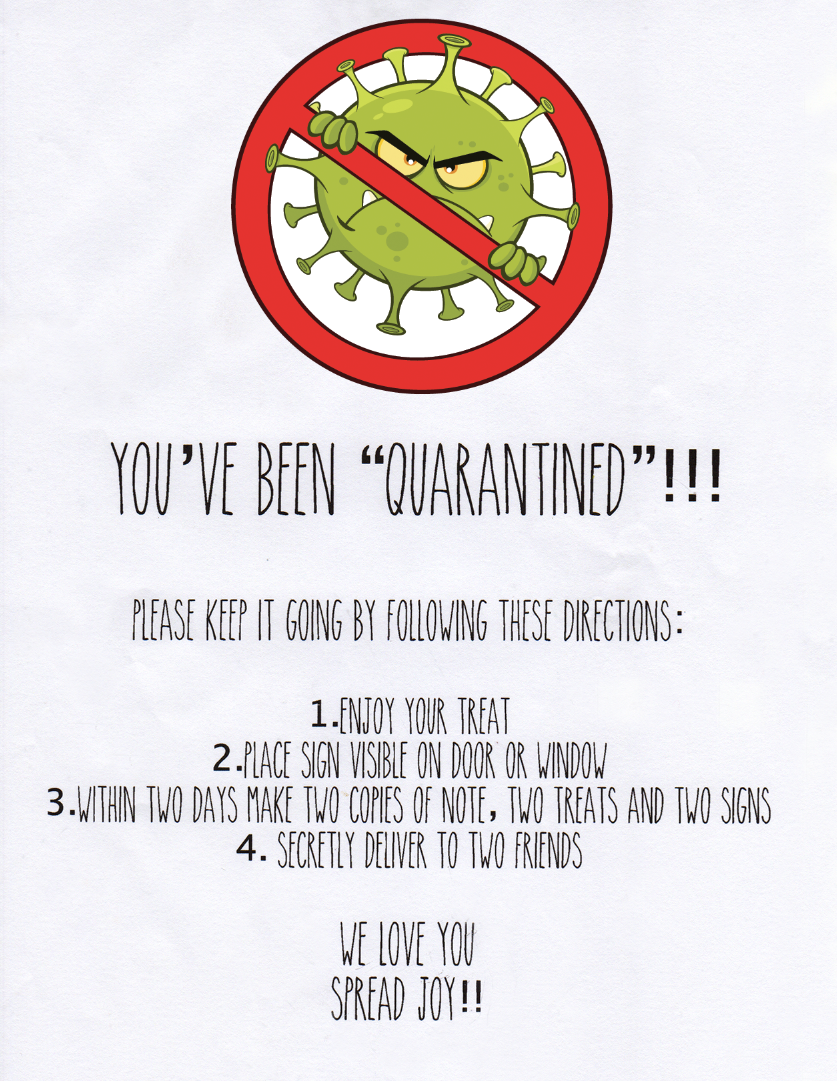 You can also click on the image above to download the printable .pdf file.
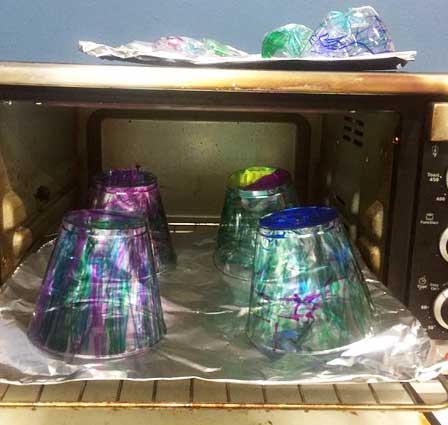
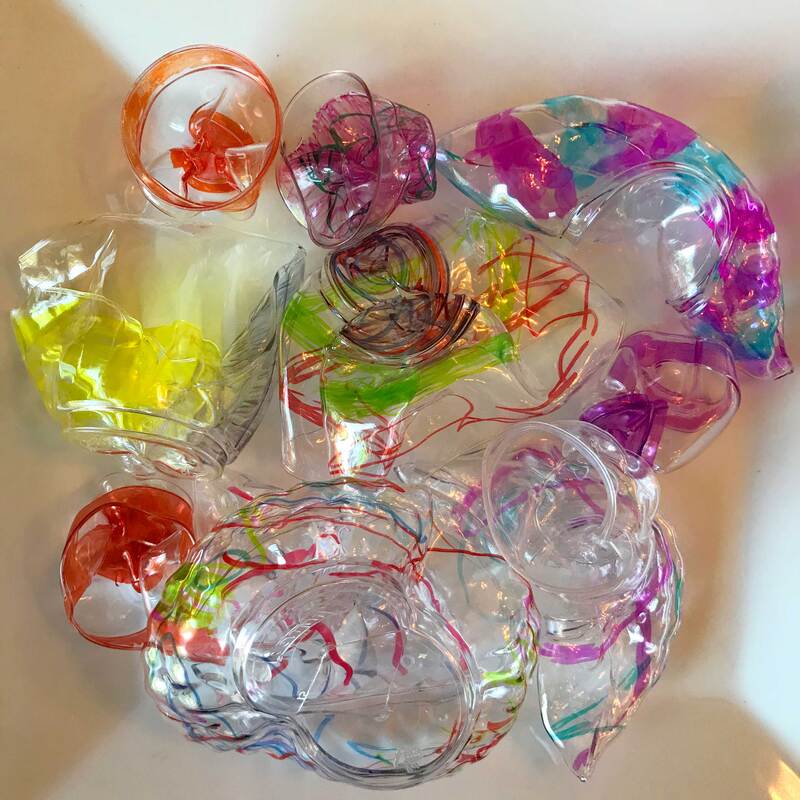
A new window should open up. Have fun spreading the joy to those you love and making the best of a tough situation! - Caryn  Hello, my friends. I hope that everyone is managing OK. The craft that I'm sharing today is one of Tre's, my youngest son's, past favorites from Camp Create. I chose to share this project today because of its simplicity : ) It totally reminds me of our generation's little Shrinky Dinks! 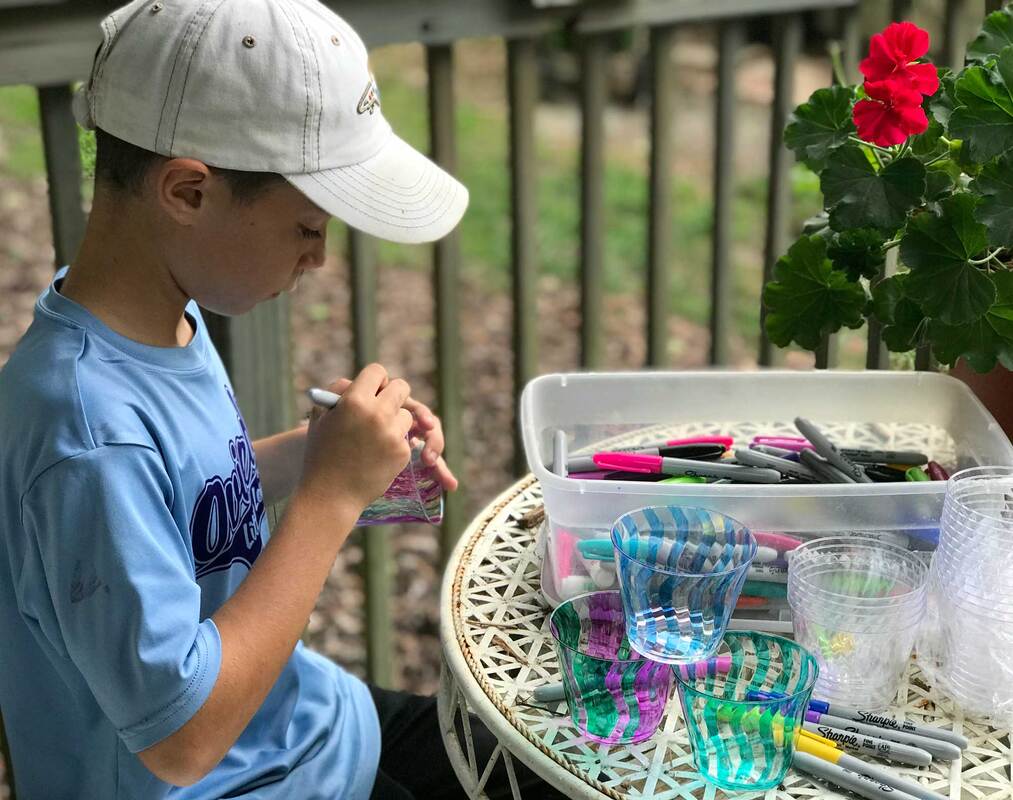 I'm finding more each day that it is essential to our mental health to step away from social media and the news, unplug and just Breath. On one level, worry can become paramount during these times, but in other ways, being home, simplifying and spending more time outside has been therapeutic. In that spirit, I'm planning on giving myself a word to focus on every couple of days. 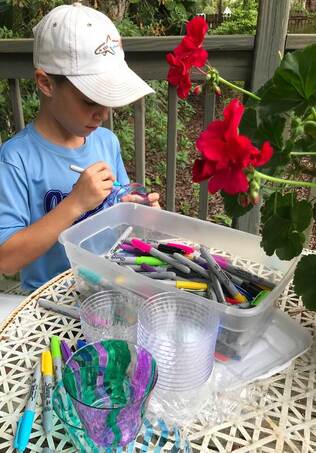 The word that comes to my mind this morning is ... simplify. Trying to stay focused on the people and things that are at hand in front of me, and leave the rest to do another time. When my little (but bold) grandma was alive, we used to have coffee every Friday morning. On days when I felt overwhelmed or tired, she used to tell me to ... "Only do what is necessary, the rest can wait!" I'm embracing these words of wisdom today. Hope you can spend time creating with your kids, taking a hot bath, cooking a healthy meal, getting outside, drinking hot tea, gardening, walking dogs, reading good books, resting and SIMPLY breathing and being. 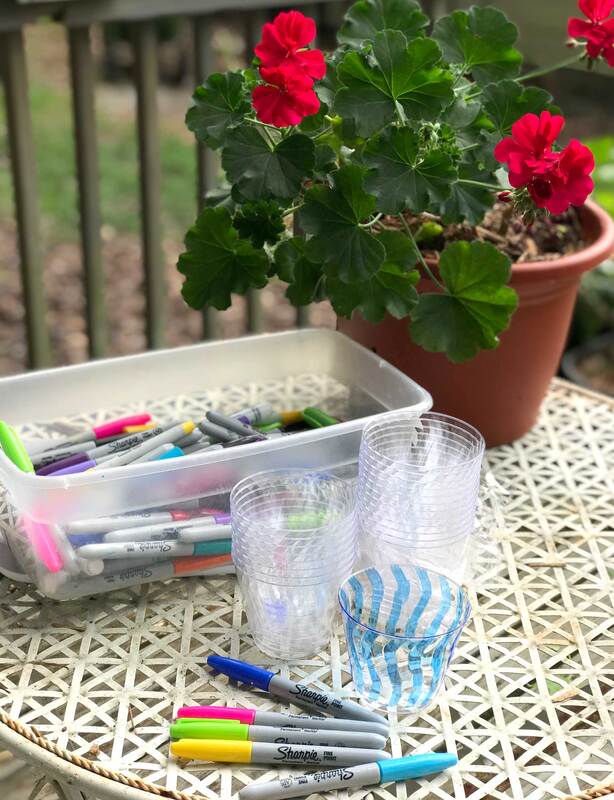 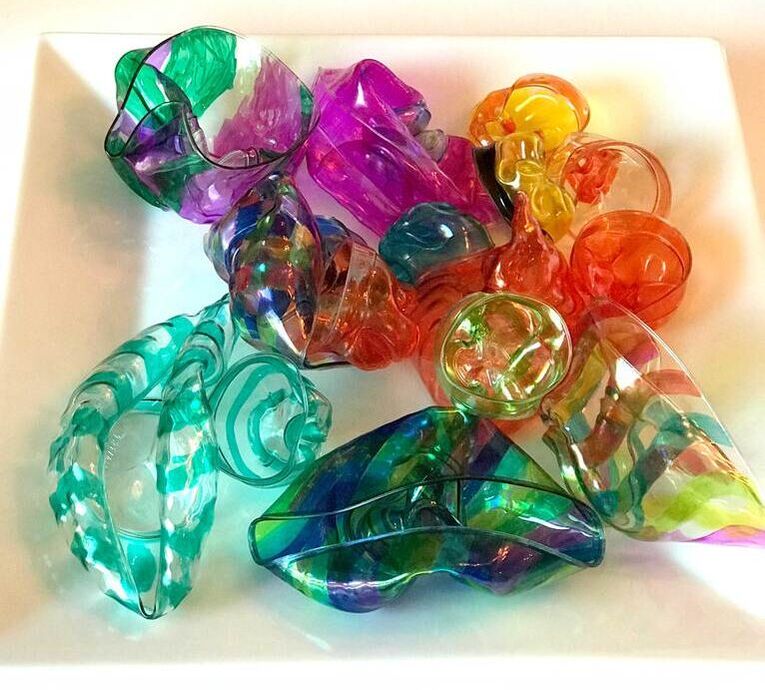 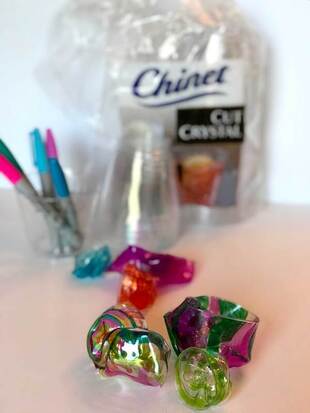 Here are the details for today's super fun but simple project: Supplies:
 The result using lots of color, covering the cups  Helpful tip: While these do look stunning piled in a bowl near a sunny window, at Camp Create we made mobiles out of them. To make colorful mobiles, just punch a hold near the top of the cups using a hole punch before baking them. After they have melted and cooled, the kids can thread string into their creations and tie to make colorful mobiles. To hang, we tied the fishing string to criss-crossed popsicle sticks. You can use whatever you have on hand, but a pipe cleaner worked great to hold the 2 sticks together. 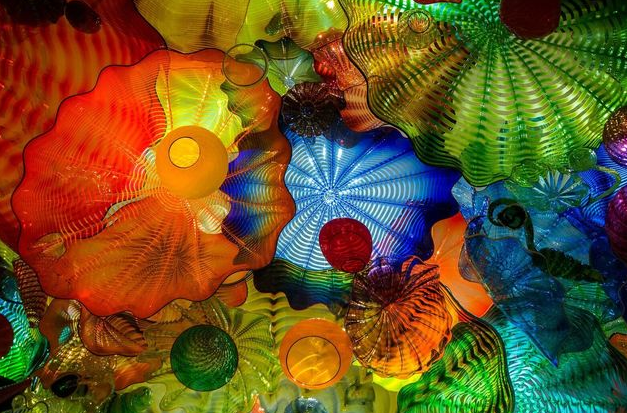 Image courtesy of Artsy.net Image courtesy of Artsy.net This project idea was inspired by a world famous glass artist named, Dale Chihuly. Miss Holli introduced me to his work. She grew up in Seattle, WA, where Chihuly has his roots. His art is actually on permanent display in Florida's city of St. Petersburg. When things go back to normal, consider scheduling a day trip to see his art. It is something to behold! Here is the museum's website. Would love to see what you create with your kids during this down time. Tag me on Facebook or via Instagram using #campcreateartcamp. What inspirational verses, words or thoughts are you focussing on today? I Corinthians 14:33 / For God is not a God of confusion, but of peace. 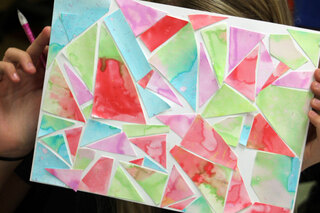 Hello my friends. Well today I'm feeling a little brighter about this stay-at -home thing then I was yesterday. At the Dahm house, we are getting dirty by digging into some much needed yard work. Feels good to get these long avoided projects tackled and under our belts. Today's craft is one that is simple and happily it's time consuming for the kids. What I love about this art piece is that you can have the children create the project to be in the colors of their room or perhaps even your kitchen color palette. These frame up nicely once completely dried! 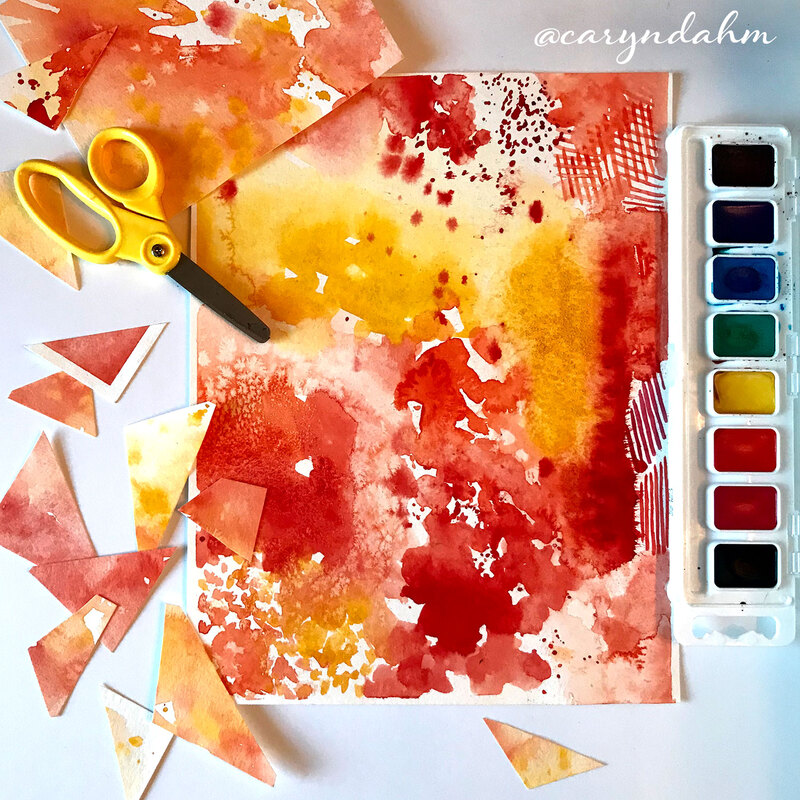 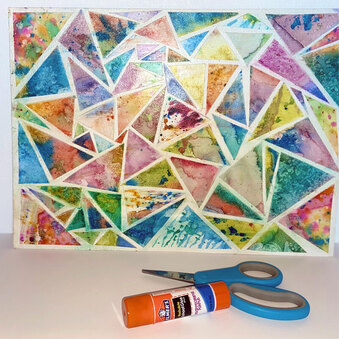 Supplies:
Process:
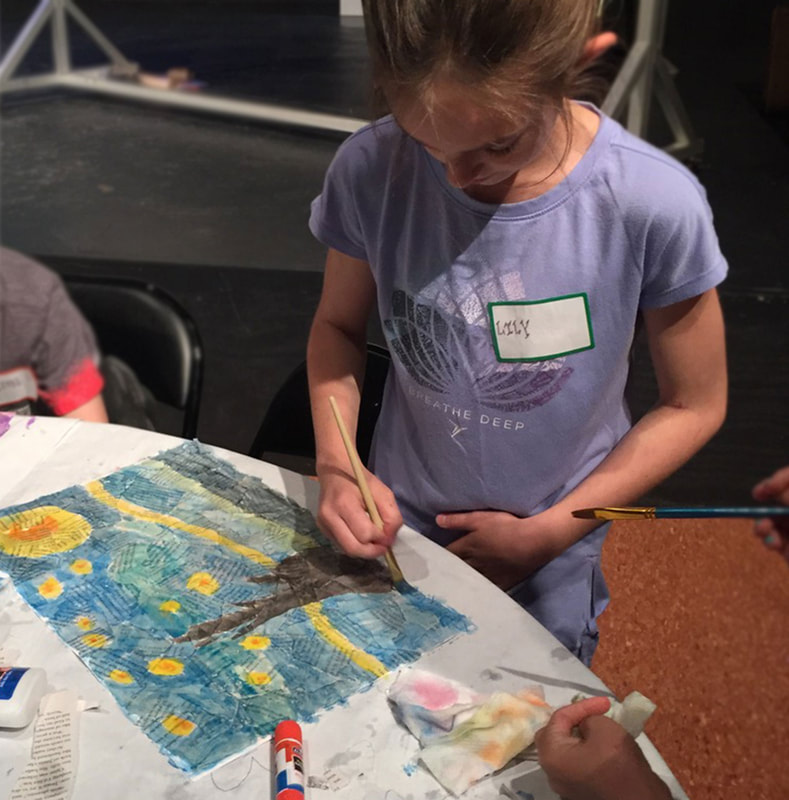
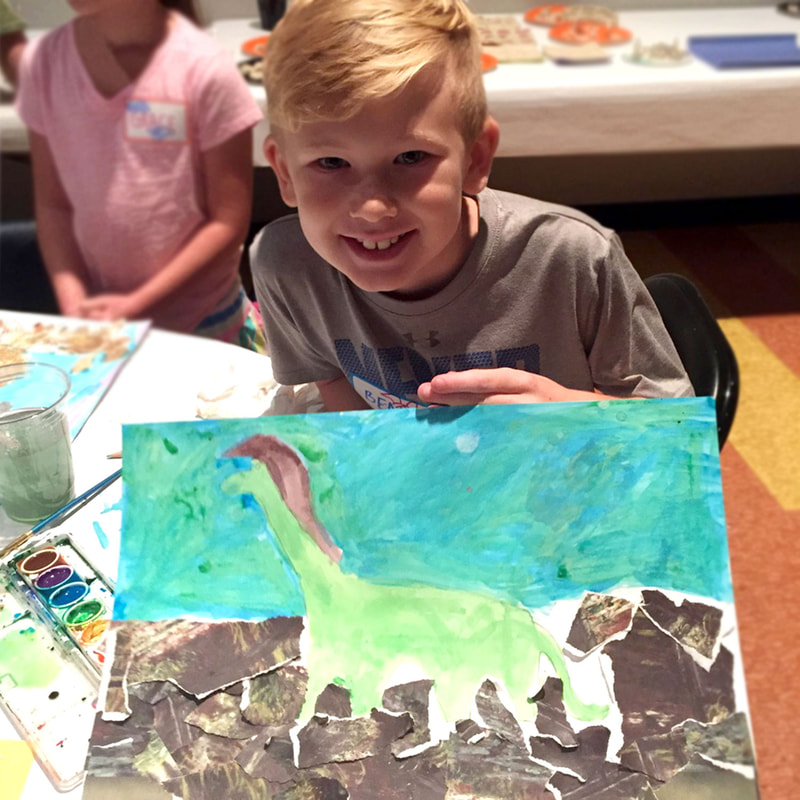
 Tip: A nice twist on this project is just to let the kids tear paper or newspaper and collage it together on card stock. Then they can paint the pieces with colorful watercolor paint.
Here's to keeping those little hands and hearts busy creating today. FYI: Miss Holli and I are currently planning this summer's Camp Create projects. If you want to sign your child up, you can reserve your spot now and then make the payment a week before camp starts.   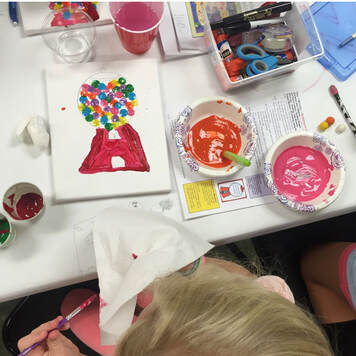 As I'm thinking today about the toughest part of being quarantined as a mom, to me it is the fact that you want to keep your kiddos active (and off of electronics) but you also want to keep yourself sane at the same time. With that in mind, Miss Holli and I want to provide for you a few of our favorite (and easiest) projects from past years at Camp Create's art camp. We tried to find a few crafts that the kids enjoyed the most, but could still easily be replicated using supplies that you most likely have on hand. 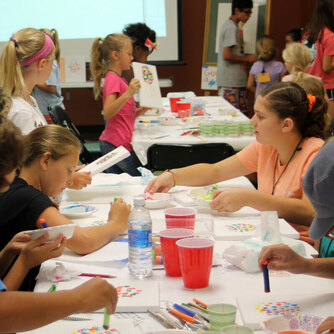 We will be sending out a handful of ideas each week that you can pull from. The idea is to set aside some time for you to keep their little hands busy and for you to have a chance to unwind. All of these suggestions are tried and true projects. Some we created ourselves and some we found online, but all have been used at past Summer art camps with much success! Of course feel free to modify, simplify or add what you think will work best for your kids. 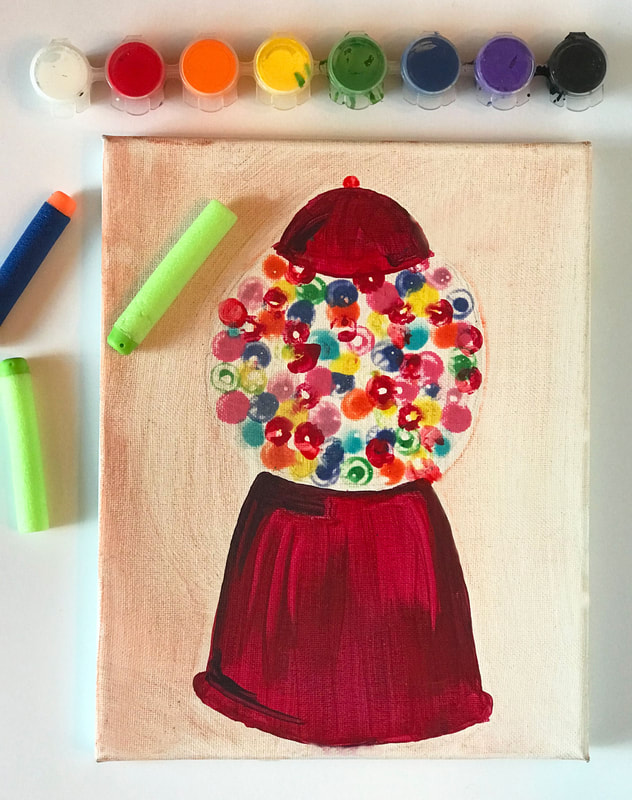 Today's Project Idea: Bubble Gum Machine using Nerf Bullets 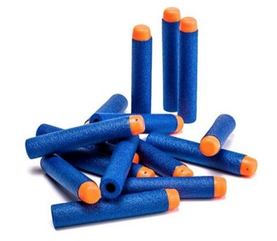 Supply List:
Process:
Bonus fun idea* We had a bubble gum machine in the room and had the kids guess the number of gumballs. You could put something round in a bowl and have them guess the number. Nerf bullets could work and the closest guess wins a prize.  If you try any of these that we send out, we'd love to see pics. Feel free to tag Miss Holli or I on Facebook or via Instagram using #campcreateartcamp 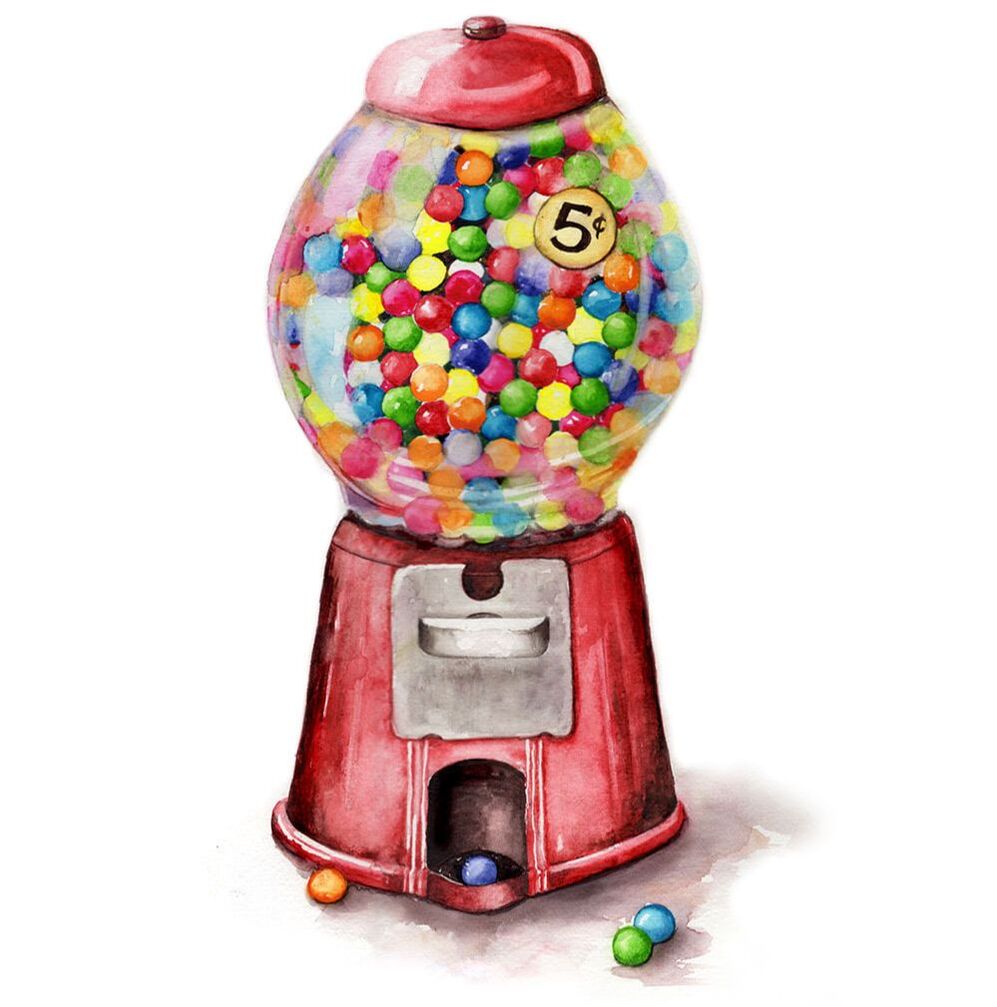 For inspiration, here is the gumball machine I painted many moons ago that inspired this project. The kids can look at it for a visual when drawing the machine's base and cap. We would love to hear what your child's favorite project has been at Camp Create. If you would like us to include instructions for that specific project, e-mail us or comment below.
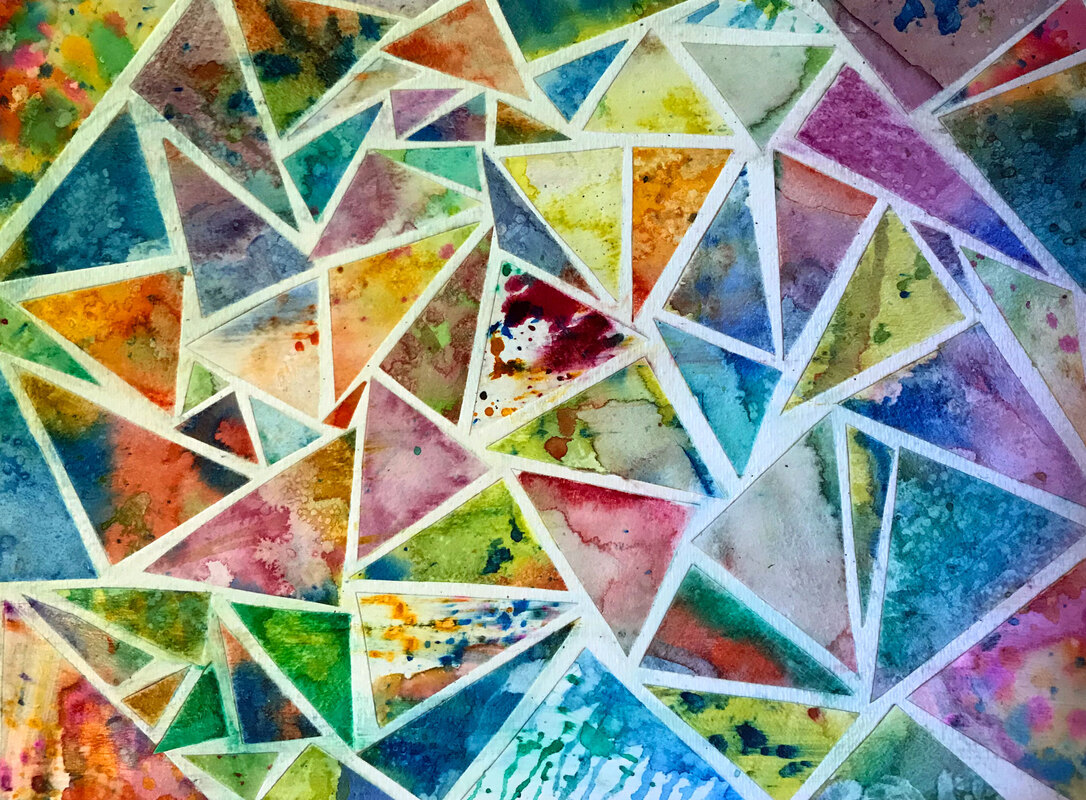
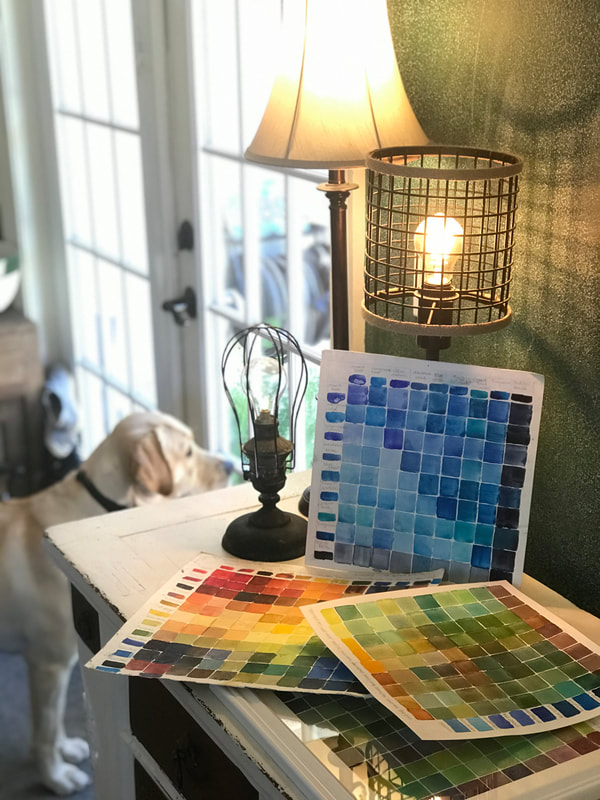 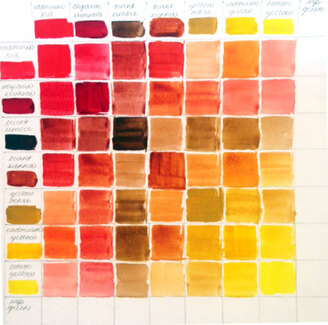 If you've ever taken a class with me, you know that each year our class settles in, gets comfy, and makes ourselves a watercolor mix chart. These are great tools not only to learn to control the amount of water to use, but also to be able to reference when you just can't get a color right. I've created four of them over the years that I'm proud of and actually use quite frequently. The first one I made now has a bit of paint blobs and splatter from being shuffled around my desk when I'm scurrying to get a color mixed that I like. You can make them out of whatever colors you'd like to learn more about. Here is one in progress on the right. It utilizes all warm tones. In an effort to organize them, make them more accessible, and because I love the look of them, I decided to finally hang them up on the wall. This is something I've been talking about doing for years and finally had the drive to get it done. 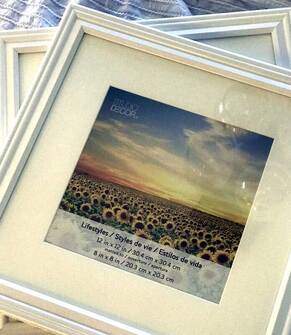 To start the process, I purchased some inexpensive frames at Michaels craft store that were BOGO and made by Home Decor. They were white and square which was exactly what I was looking for. The catch was that the size of the charts are 13X13" and these frames are 12 X 12" with a 10" opening in the matte. Just a wee bit too small. That meant that I would have to trim down the matte to fit most of my color chart in to the viewable opening. It was inconvenient, but not a deal breaker. I got out my Exacto knife, a pencil and non-slip corked back ruler. I marked off 1" from the inside all the way around so that I could gain more space in the opening. The cork-back ruler keeps it from slipping while you cut. I try to put my ruler over the part I'm keeping to protect it. I do this just in case one of my cuts slips and this way I'm protecting the side I want to keep. 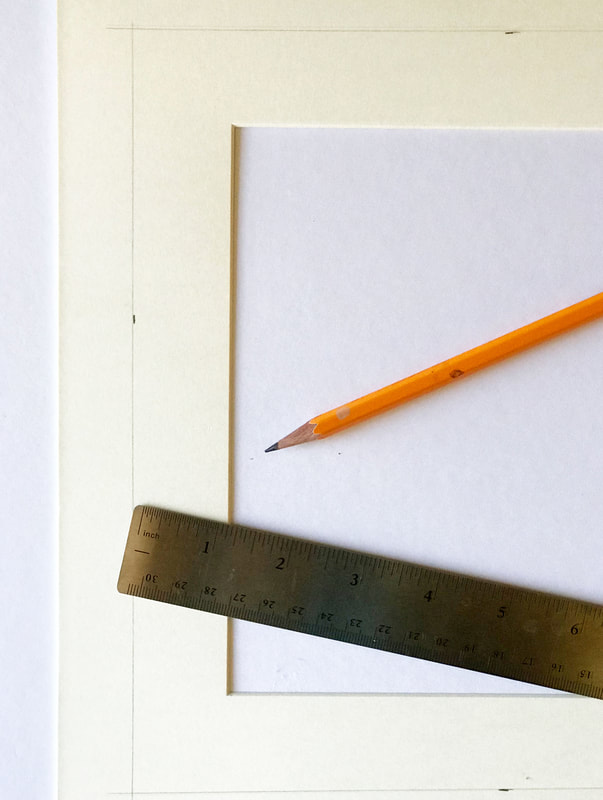 Next, I went for the frog tape. That's my favorite brand of low adhesive tape for masking off things and mounting images. It easily peals off without ripping your paper and also leaves a nice crisp edge when you are painting with it. You'll pay a little more for it, but it is well worth the price. 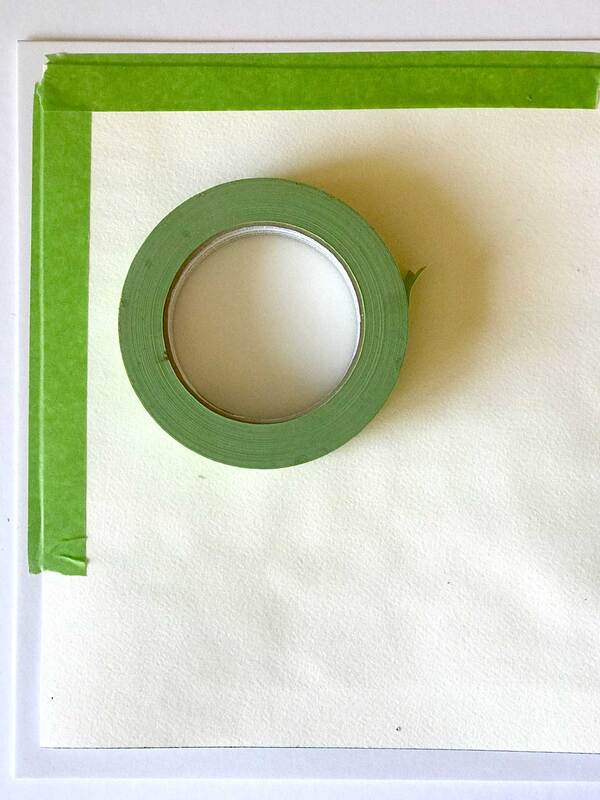 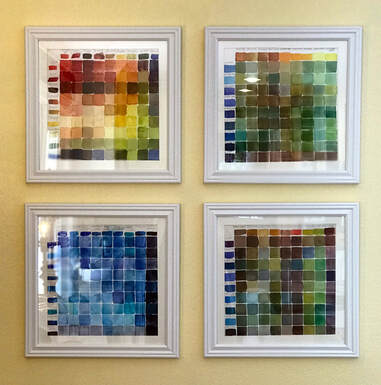 Once I get the charts taped in, I slip them in the frames and measure where to put them on the wall. This part takes more time then I'd like. I'm impatient with hanging, so I've learned that with any gallery wall, I have to force myself to be slow and methodical. Those two words do not come easily for me! I make sure to measure twice so that I only have to hammer once for each nail. : ) Oh - the nail holes I've created by rushing! Here is how they look mounted in a grouping on the wall. I just can't sing the praises of these mix charts enough. Let me know if you are interested in making one for yourself, I'm thinking about doing a workshop to make them. 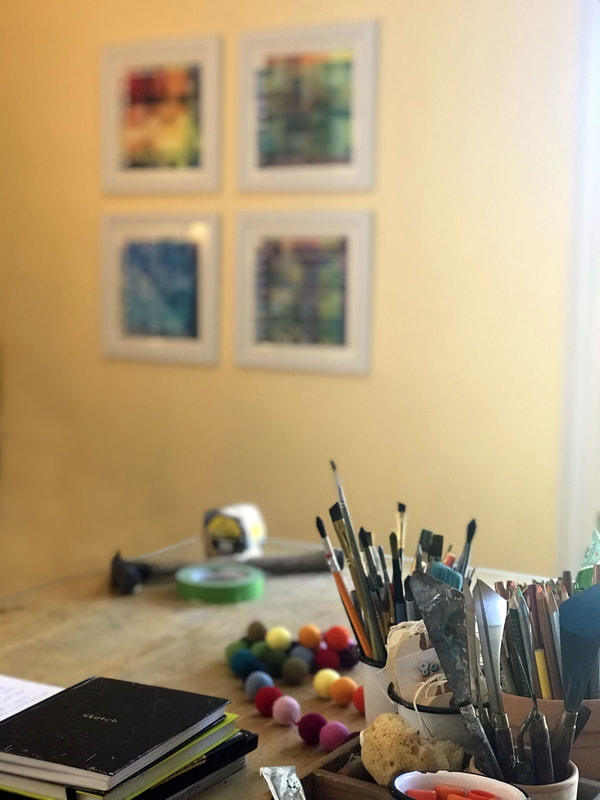 I'm really happy with how they look all together. They are much less prominent then I had imagined. In fact, I had to point them out to my kids before they noticed them (which is unusual) Since my home studio is in my kitchen area, I wanted the pretty color, but didn't want these to be too dominant.
Have you made these before? If so are you actively using them to mix your colors or as wall art? Hope this was inspiring and helpful to you. A fresh 8 weeks of art classes are starting up at the end of March. To join in, be inspired and boost your creativity, get more information and sign up here |
Caryn DahmWhether I am painting custom artwork, creating a water colored logo for a client, or teaching art students, I hope to refresh and inspire others with my work. Read more ... 
Archives
October 2023
Categories
All
|
 RSS Feed