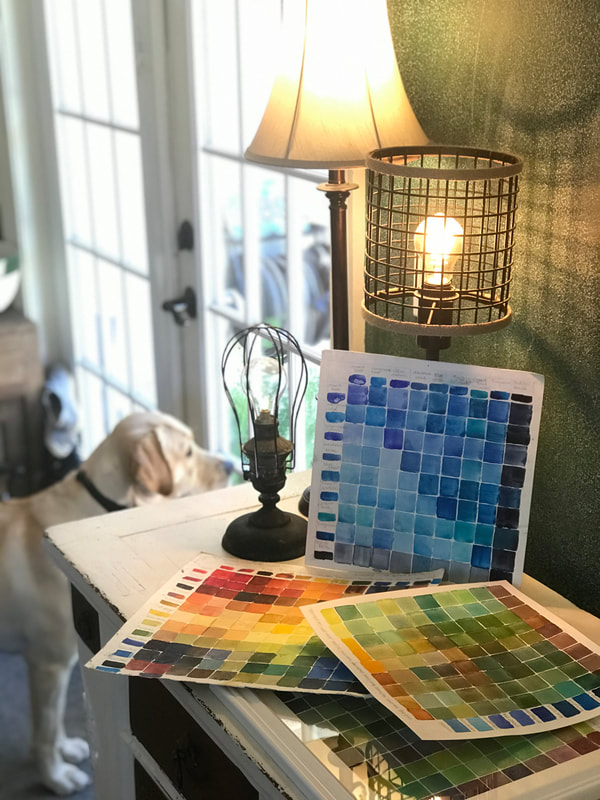
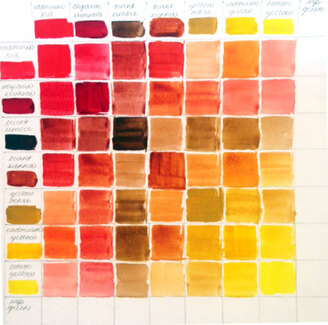
  If you've ever taken a class with me, you know that each year our class settles in, gets comfy, and makes ourselves a watercolor mix chart. These are great tools not only to learn to control the amount of water to use, but also to be able to reference when you just can't get a color right. I've created four of them over the years that I'm proud of and actually use quite frequently. The first one I made now has a bit of paint blobs and splatter from being shuffled around my desk when I'm scurrying to get a color mixed that I like. You can make them out of whatever colors you'd like to learn more about. Here is one in progress on the right. It utilizes all warm tones. In an effort to organize them, make them more accessible, and because I love the look of them, I decided to finally hang them up on the wall. This is something I've been talking about doing for years and finally had the drive to get it done. 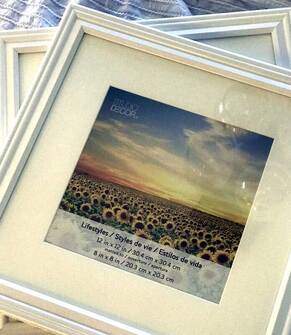 To start the process, I purchased some inexpensive frames at Michaels craft store that were BOGO and made by Home Decor. They were white and square which was exactly what I was looking for. The catch was that the size of the charts are 13X13" and these frames are 12 X 12" with a 10" opening in the matte. Just a wee bit too small. That meant that I would have to trim down the matte to fit most of my color chart in to the viewable opening. It was inconvenient, but not a deal breaker. I got out my Exacto knife, a pencil and non-slip corked back ruler. I marked off 1" from the inside all the way around so that I could gain more space in the opening. The cork-back ruler keeps it from slipping while you cut. I try to put my ruler over the part I'm keeping to protect it. I do this just in case one of my cuts slips and this way I'm protecting the side I want to keep. 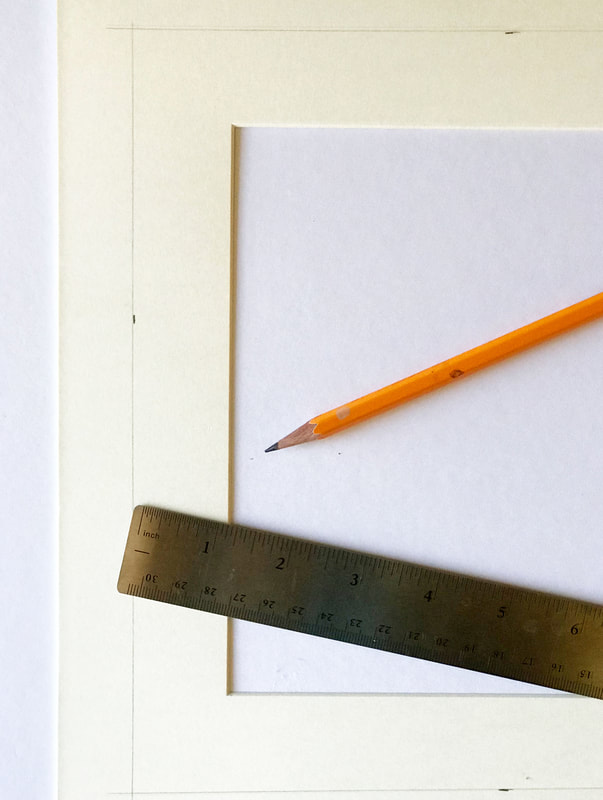 Next, I went for the frog tape. That's my favorite brand of low adhesive tape for masking off things and mounting images. It easily peals off without ripping your paper and also leaves a nice crisp edge when you are painting with it. You'll pay a little more for it, but it is well worth the price. 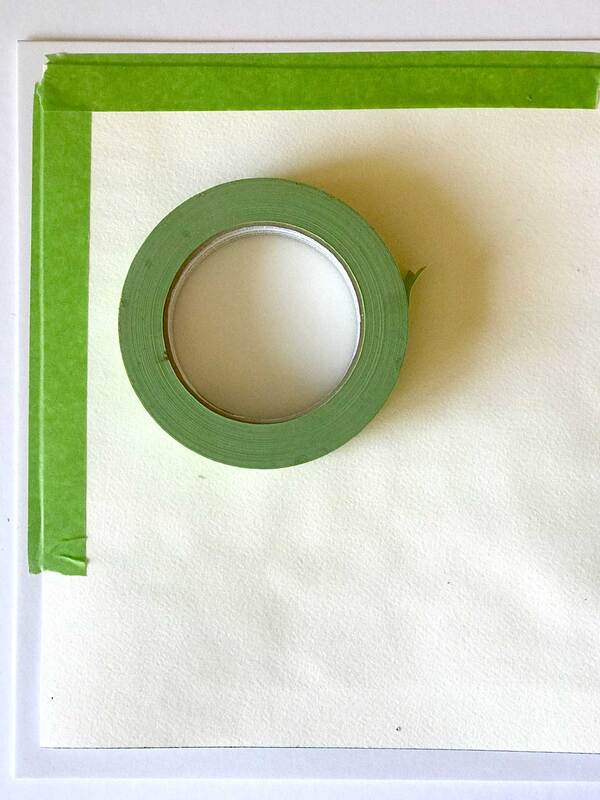 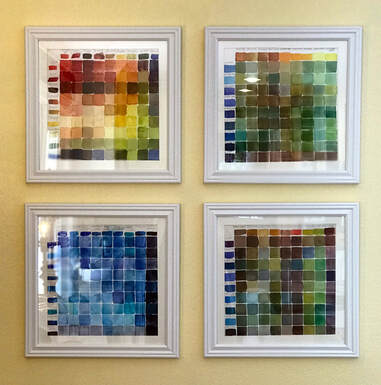 Once I get the charts taped in, I slip them in the frames and measure where to put them on the wall. This part takes more time then I'd like. I'm impatient with hanging, so I've learned that with any gallery wall, I have to force myself to be slow and methodical. Those two words do not come easily for me! I make sure to measure twice so that I only have to hammer once for each nail. : ) Oh - the nail holes I've created by rushing! Here is how they look mounted in a grouping on the wall. I just can't sing the praises of these mix charts enough. Let me know if you are interested in making one for yourself, I'm thinking about doing a workshop to make them. 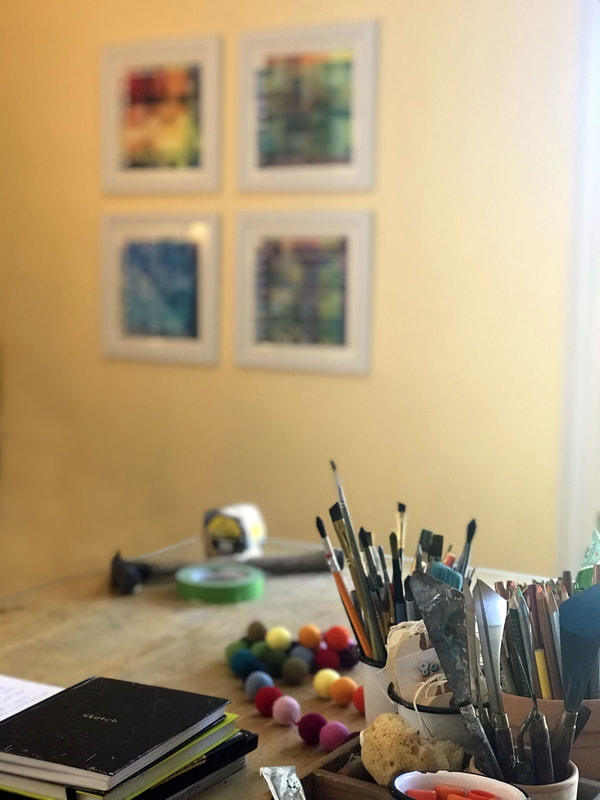 I'm really happy with how they look all together. They are much less prominent then I had imagined. In fact, I had to point them out to my kids before they noticed them (which is unusual) Since my home studio is in my kitchen area, I wanted the pretty color, but didn't want these to be too dominant.
Have you made these before? If so are you actively using them to mix your colors or as wall art? Hope this was inspiring and helpful to you. A fresh 8 weeks of art classes are starting up at the end of March. To join in, be inspired and boost your creativity, get more information and sign up here |

Caryn DahmWhether I am painting custom artwork, creating a water colored logo for a client, or teaching art students, I hope to refresh and inspire others with my work. Read more ... 
Archives
October 2023
Categories
All
|

 RSS Feed